Knowledge Base
 All
Content
All
Content
Use USB Capture Utility V3 to customize resolution
Article ID: 002030020
USB Capture Gen 2 Family , USB Capture Plus Family , USB Capture Utility V3


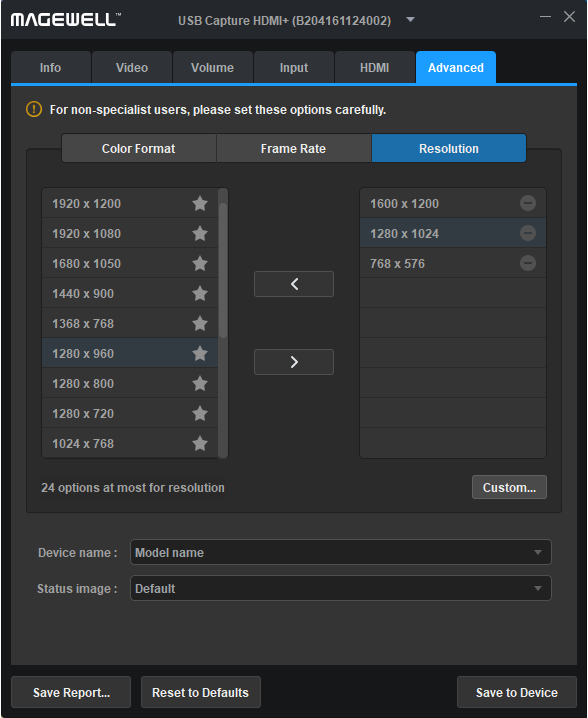
- In the Advanced tab page, click the Resolution tab.
- Click Custom to open the Custom Resolution dialog box. Enter the resolution in the Image width and Image height text box and click OK. Then the custom resolution will appear in the right column of the main USB Capture Utility window.
- To move the custom resolution to the left column, click the custom resolution in the right column, and then click the left arrow between the left and right column.
- To set the custom resolution as default, click the star button after the custom resolution in the left column.
- Click Save to Device, and then reconnect the capture device.
The right column displays items to be added; the left column displays added items.
Relevant Video: How to Use USB Capture Utility to Set the Capture Format
Has your problem been solved?