How to Decode NDI Streams with the Magewell Pro Convert IP to USB
In today's multimedia content production scenarios, IP audio and video streaming based on NDI® and NDI HX technologies is highly favored for its ease-of-use. While direct support for NDI video technology in third-party software has grown significantly, many AV professionals have continued to find themselves unable to join the NDI ecosystem. Software solutions without native NDI integration may be able to support it through NDI Tools, but stringent IT restrictions in many environments can often preclude the installation of such utilities.
Magewell's newly launched Pro Convert IP to USB device overcomes this issue and eliminates complexity by converting the NDI source into a USB output that is recognized as easily as any webcam. Today, let's quickly learn how to use the Magewell Pro Convert IP to USB to decode NDI streams.
I. Device Connection and Login
1. Connect the Device
Connect the Pro Convert IP to USB device to your computer via the USB port. The device will be automatically recognized and connected without the need for additional drivers.
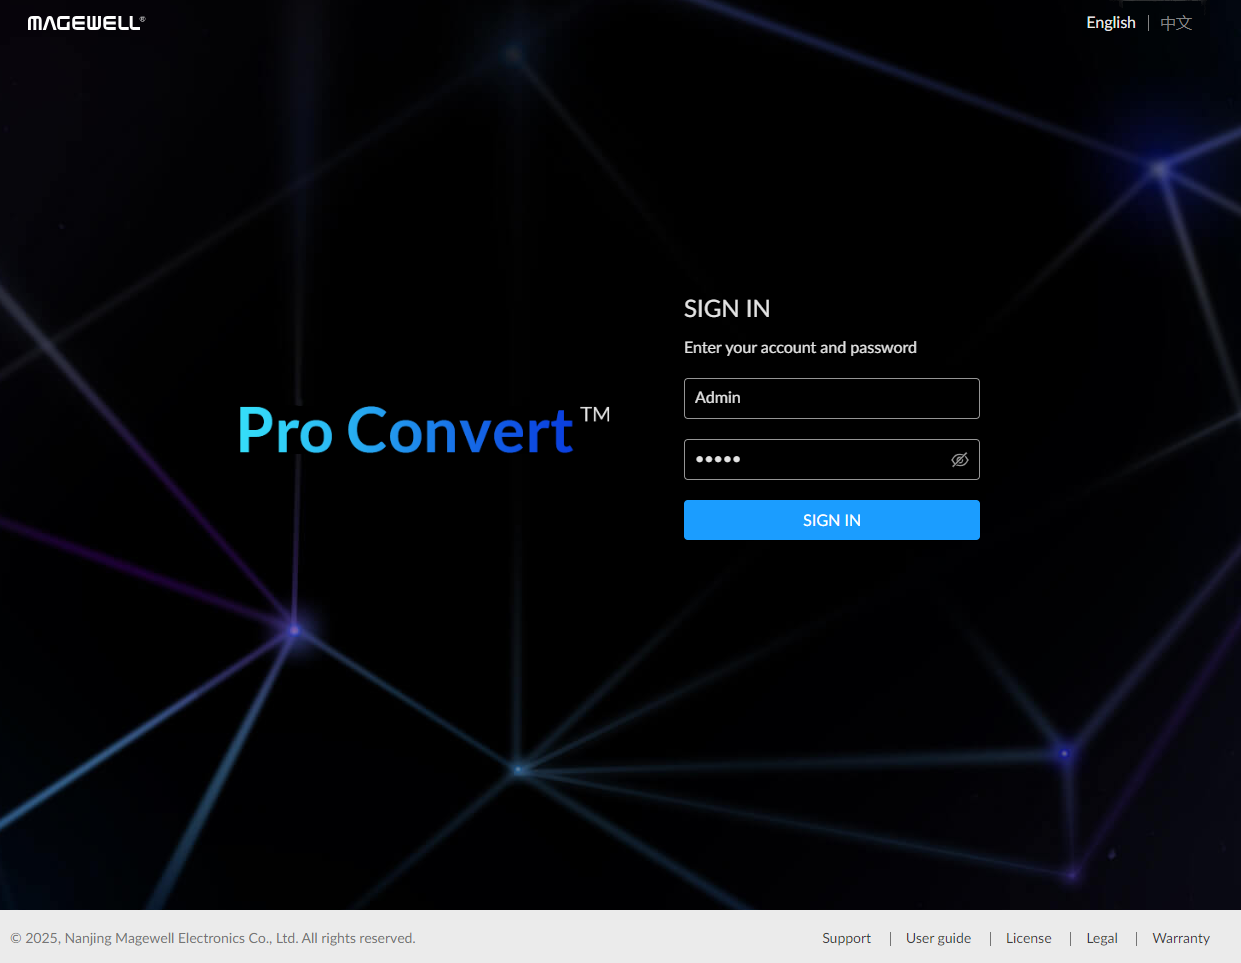
2. Log into the Web UI
Open your web browser and enter 192.168.66.1 into the address bar to access the device's Web UI interface. The initial login username and password are both "Admin." After logging in, you will see the main interface for the device.
II. Add NDI Data Source
1. Enter the Data Source Page
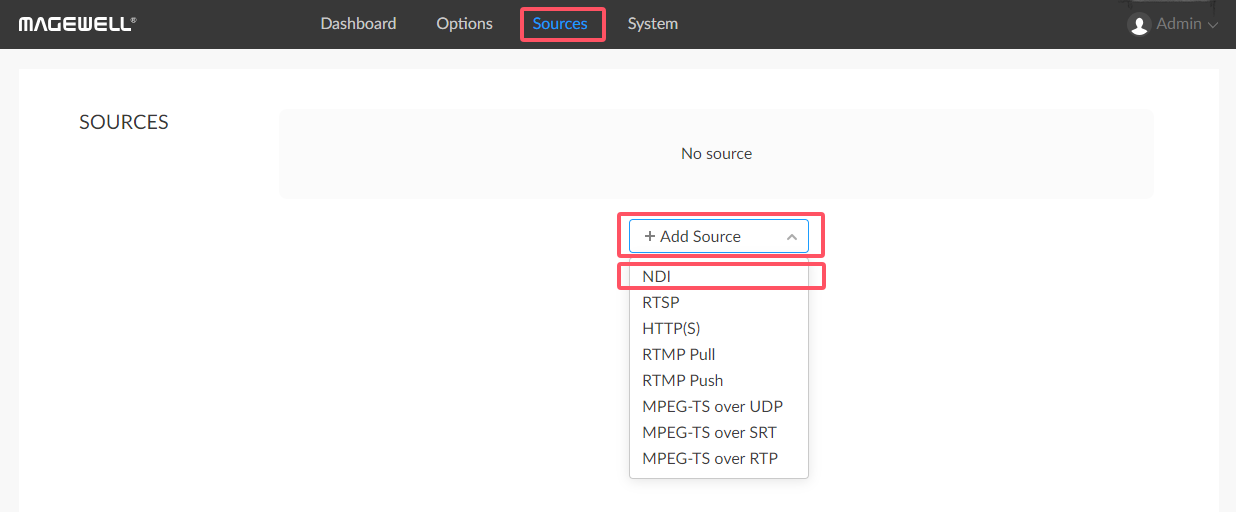
In the main interface of the device, click on the "Sources" tab at the top to access the data sources configuration page.
2. Add NDI Data Source
On the SOURCES page, click the "+ Add Source" button. In the pop-up options, select "NDI" as the data source type.
III. Configure the NDI Stream
1. Manually Enter NDI Stream Information
In the "Source video" section, you can manually enter the "NDI Name" and "NDI url". If you already know the specific information of the target NDI stream, you can directly input it here.
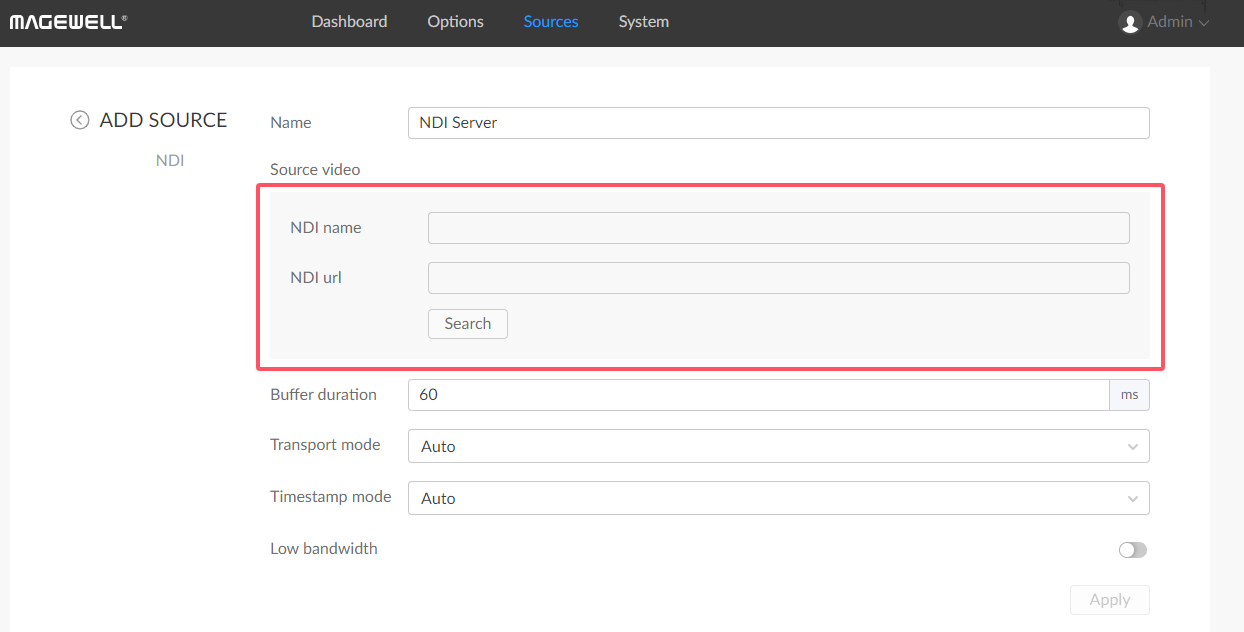
2. Automatically Search for NDI Streams
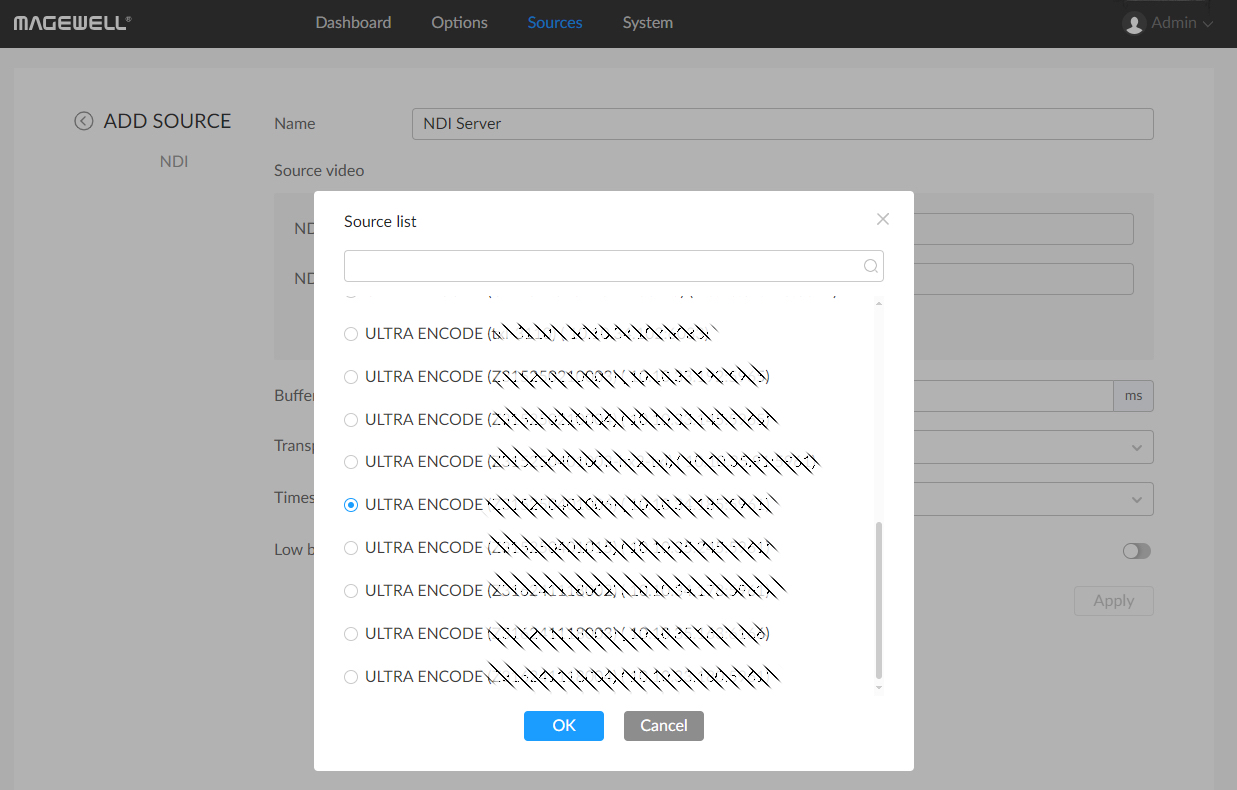
If you are unsure about the available NDI stream information, you can click the "Search" button. The device will automatically scan for available NDI streams on the network and list them. Select the NDI stream you need to decode from the search results.
IV. Decode and Output
1. Apply Configuration
After configuring the NDI stream, click the "Apply" button to save the settings.
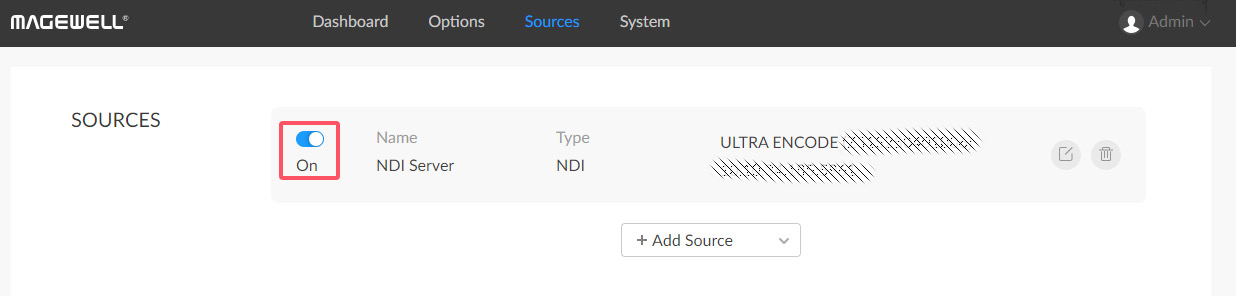
2. Start Decoding
Return to the "SOURCES" interface, locate the NDI stream you just added, and click the "On" button. At this point, the device will begin decoding the NDI stream and output it through the USB interface.
We hope that you found this tutorial to be helpful. You can find other tutorials HERE and if you have suggestions for future tutorials, please reach out to use HERE.
THANK YOU!
NDI® is a registered trademark of Vizrt NDI AB.